
Roof-Contractor.org - Professional Roofing Contractors
Roof Repair
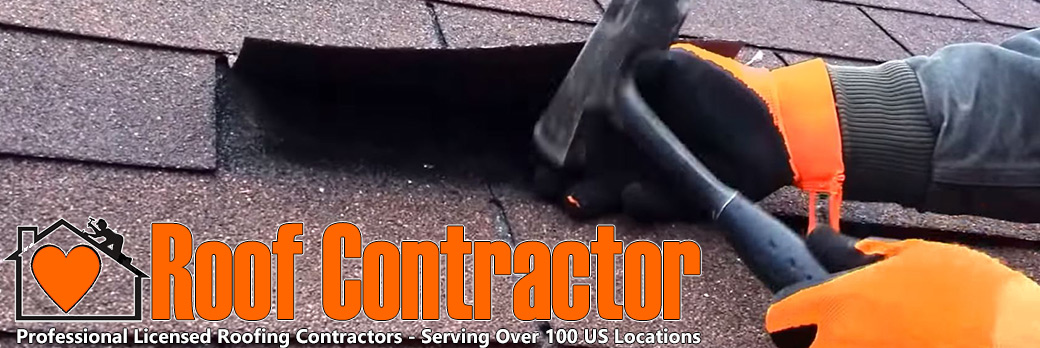
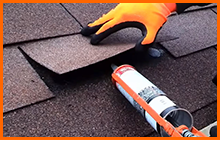
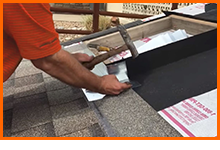
Sometimes you just need repair of one or two areas with leaks or other problems to be as good as new.
Roof Replacements
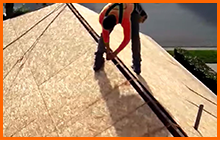
When your roof is in total disrepair, we remove your old roof, repair the roof deck, and replace the roof.
Roof Inspections
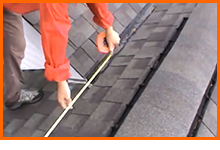
If you haven't had the roof looked at in the last 5 years, now is the time to do it to prevent problems!
Skylights / Vents
We install skylights to allow natural light into your home, as well as above industry standard vents.
At Roof Contractor, our goal is your complete satisfaction with our roof work. This means providing you with best-in-idustry service and products, at the most competitive prices possible, and providing you with an excellent roofing experience. We have serviced both homeowners and businesses for more than 20 years, so you can trust that we understand the challenges of your specific roof issue, and can provide the correct solution with the highest quality work. Your roof is a essential part of your home, and our roofing work ensures that your property value increases and your family is kept safe and secure for years to come. You can have confidence that our team of professionals will do the job right. Contact your local branch 24/7 to discuss your roofing needs and schedule an inspection. We look forward to hearing from you!
Locations Serviced
© Roof-Contractor.org - Professional Roofing Contractors

This site is a free service to assist homeowners in connecting with local service contractors. All contractors are independent and this site does not warrant or guarantee any work performed. It is the responsibility of the homeowner to verify that the hired contractor furnishes the necessary license and insurance required for the work being performed. All person depicted in a photo or video are actors or models and not contractors listed on this site.